
Welcome to The Ridge! The Ridge is the newest track in the Pacific Northwest that is generally available to the public (Vancouver Island Motorsports Park opened recently but is a private track).

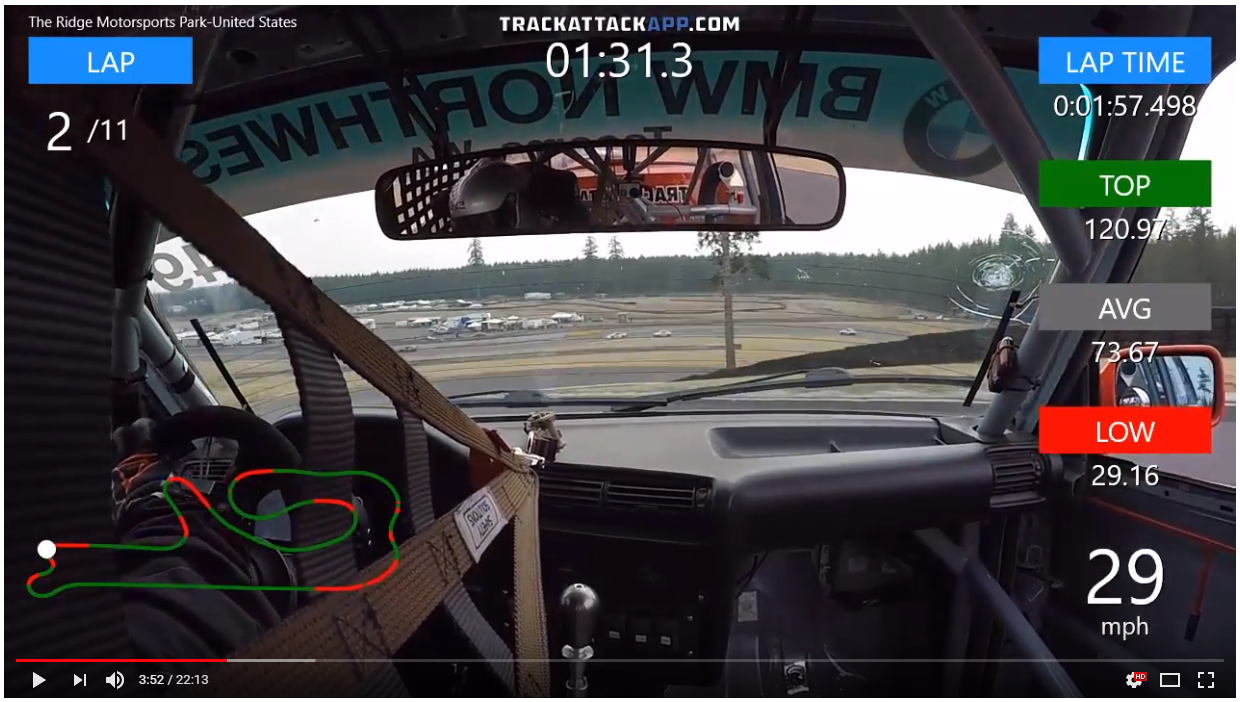
Similar to the Portland International Raceways (with a Chicane) track walk, we’ll use the Track Attack #209 PRO3 race car, a relatively low powered “momentum” car, to illustrate how to get around the track. The session data we are using for this is available here on Track Attack – feel free to request it.
We’ve also broken the track down into 6 segments, each segment is defined right before the major major braking/slowing down zones.

Before you read on, watch this complete lap from a dry race in September of 2017. Read the article and the re-watch the video.

Segment 1: The Uphill
This segment starts at s/f and goes all the way up to the first major braking zone (not including braking for T2) entering the Carousel. The first thing here is that this segment is a 76ft climb in elevation. The equivalent of an 8 story building. Yeah. So every single loss of mph as you make your way up the hill, will be penalized with a multiplier as you go uphill – keeping the momentum going is a top priority.
Momentum is important – check! Turn 1 – get ready for a trouser check. Turn 1, in some cars, can be taken flat, without lifting. This is similar to T1 at Spokane but the distance between T1 apex and turn-in for T2 is not as long, so in cars that are faster than a Spec Miata, experiment with caution. Personally, the most I’ve ever been able to get away with is a ~4/10 braking effort – just a tad more than a brush of the brakes, go back to tad of maintenance throttle and then back on the brakes, about the same amount for the downshift to 4th gear and then going back up the hill.

As you get the car past the apex of T2, it’s really important to get close to the curb of T3 but don’t take too big of a bite off of it, as it will send your car back to track-left, which is not the ideal line for the remainder of the complex. Once you get to full-throttle, you absolutely cannot lift. After T3, stay track-right, to setup a wide arch into T5 and then release the car to driver’s-right. This whole time between T3 through T5, when you’re pinned to full throttle, you will feel the back end wanting to step out. That’s ok – simple counter steering corrections (small ones), while staying flat, will take care of them.
After this, it’s smooth sailing to The Carousel – find a straight line to follow, that will set you up on track-right, for T6 (The Carousel), which is a long, flat left-hand sweeper.
Segment 2: The Carousel
This segment is just one corner. Why? It’s long and hard to get right. This corner can be taken many ways but here is one that has proven well in racing and qualifying conditions. Set yourself up track right but not necessarily right on the edge of the track. Brake a little later than feels comfortable with a solid 6-7/10 effort and after the initial bite, start trailing off and turning into the corner, like if you were trying to double-apex the corner.
The backend may start to come out as you turn-in so get ready to catch the backend with some maintenance throttle. Try to keep the car tucked in tight to the inside edge of the corner and if it washes out a little mid-corner, that’s ok and that just means you can back on throttle even more aggressively for corner-exit, because you don’t need as much steering input.

About 35-40% through the corner, you want to be on-throttle and free here on out, you don’t lift. Start your ascension to full-throttle and as you feel the backend come out, pause the throttle application and give it a steering correction but DO NOT LIFT! For me, there is a single, tall tree out in the horizon of this corner and the instant I see that tree, I go full-throttle, no matter where I am.

From here, let the car release all the way to track-right, the very edge if needed. A lot of people don’t get out here because they want to setup far left for the next segment and that’s a trade-off you can decide to make.
Segment 3: The Thumb
This is one of the trickiest parts of the track. It combines a big compression and low-speed traction event at 8a and 8b but also a super hard, decreasing radius turn at T11 (aka The Thumb).
As you come out of The Carousel, it’s ok to stay driver’s left and then draw a straight line as you go downhill at 8a. Stay on throttle until right before you feel the ground fall away, lift and synchronize the compression event with your braking. When you do this right, you don’t need to brake as hard because the compression event gives more bite to front-end. Downshift (if you have to), wait for the car to rotate a tick and then get back to maintenance throttle. You want to get on full throttle here as quickly as you can but the sliding plus the acceleration means that it will be really easy to get on-power over-steer, so be aggressive but careful with your throttle application. After you get to full throttle, it’s a full throttle ride all the way up the hill, which is another 36 foot climb (almost a 4 story building). Every mph you unnecessarily drop or every split second of having to lift from throttle, will make you pay dearly at the top of the hill.

Where you brake for the thumb will be determined by the car and how fast you’re going. In a PRO3 car, the engine is spinning at 6,500RPM and ~103mph and we wait to come off throttle just before the curbing on the left and are well into the brakes at those curbs.
You don’t need to track all the way to driver’s right to setup for the thumb, about mid-track is fine in most cars. Next, is one of the hardest corners to get right – find the late apex and make it your job to hit that curbing with your LF tires. Getting on those tires, in 3rd gear (in many cars, 2nd gear in Spec Miatas), means you can get on the throttle hard and have plenty of room on the exit of the corner. Be ready for the car to wash out and go on the exit curbing and maybe even drop a rear tire on the exit of the corner but that’s ok – DO NOT LIFT!
Segment 4 & 5: The Ridge Straight
I’ve broken this segment into two segments because it contains two corners, which are taken very differently and I wanted to leave the last segment being the last corners before the front straight away.
First is the very deceiving Turn 12 right-hander. It’s deceiving because you can actually car a good amount of speed here and the corner opens up quite a bit on the exit, which means there is a plenty of room for corrections if you maybe got on-throttle too early.

The trick here is to get to the apex and be on full-throttle at the apex. There is a bump or bulge right at the apex, which will feel like it kicks your car away as you hit but get to full-throttle, stay in it and ride it out. You’ll almost for sure have the car sliding a little just past exit – a simple steering correction will get it back under you and you can keep going. Then start making your way over to track-right, to setup for the Ridge complex.
As you approach the corner, you’ll see that the ground starts falling away in the middle of the braking zone – YIKES!!! This means you have to have your heavy braking done before the ground starts falling away. Looking at the data, the drop-off is a 7 foot decline in elevation over a 150 foot distance. 150 feet when you’re travelling at 75mph, goes by pretty fast, so this is a split second decision.
As you approach turn-in for the corner, stay on the brakes ever so slightly, so that when you turn in full, the noise is loaded up and will help rotate the car. It’s ok to bite off a little bit of the curb but don’t get over zealous.
Give it some throttle as soon as you get past the corner, turn for the right hander and stick to track-right as much as you can. If at all possible, stay off the brakes but you might need to brush the brakes to help the front-end bite.
Segment 6: The Front Straight
The lap is almost over! You’re barreling down the Ridge Complex, a nearly 80 foot drop and you need to decide what to do for the last corner before the main straight away. There are couple school’s of thought:
- Geometrical fastest line: Swing out wide, carrying more speed because you have a wider arc, a single late apex at Turn 15 and then pin the throttle down until start/finish.
- Shortest distance line: Stay a little closer to the inside, use the banking in the corner, travel less distance and hit the apex of Turn 15 at the same spot.
This really depends on what kind of car you have and the track conditions on the outside of Turn 15. In race weekends, that wide line isn’t used much, so there ends up being a lot of marbles out there. Great for the rain but not for the dry.
At least in a PRO3 car, we have more grip than power, so as is with many of the other corners, the less distance we have to travel, the better so Option 2 is what you’ll see in the data.

Now, I can totally see an argument even for a PRO3 car to setup for a single flying lap to go super wide, throwing away the lap time for that current lap and setting up for a higher top speed going into Turn 1 or even setting up a competitor for a pass at the end of the straight.
You’ll see in the data that I’m on throttle about mid-corner and full-throttle at about 3/4 of the way of the corner. After that, it’s about finding the straightest line possible through Turn 16 and the least amount of steering input all the way down the front straight away.
Conclusion: The Ridge is awesome. Go drive it!
The Ridge is really a fun track. Newer and well take cared of pavement and plenty of run off room in most corners. You can get in trouble and it makes you pay but most of the time, it’s dirt and rocks on your car to go along with a bruised ego.
The facilities are constantly improving and with a motocross and a kart track that is a mini version of the big track, there’s few places that can compare. The downside is that it is located about 30 minutes northwest of Olympia, WA and Shelton has limited hotels but coming out in an RV or camping, is an absolute blast. Best of all, there are no drag races so every evening, you can do a complete track walk.
Check out the The Ridge Motorsports Park website and Motorsportsreg.com for upcoming events you can sign up for, to drive the Ridge!